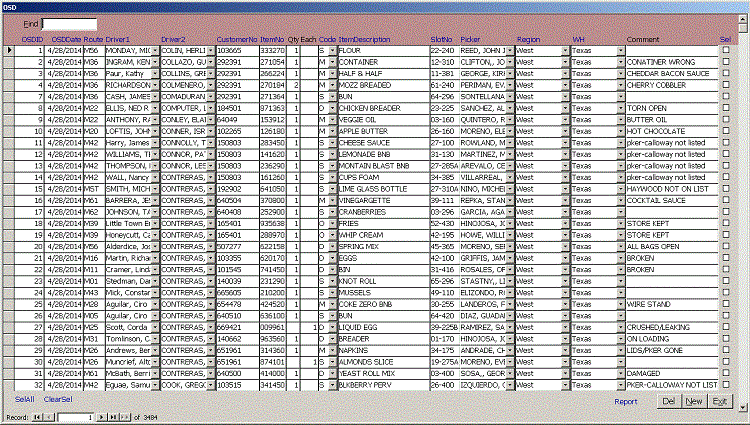
Find in Find string in: | OSDID | OSDDate | Route | Driver1 | Driver2 | CustomerNo | ItemNo | Code | ItemDescription | SlotNo | Picker | Comment | SEL |. Use the pipe symbol (vertical | bar) to separate multiple fields or mark the start or end of a field and reduce false hits. Find for |SEL| to see records where the Sel checkbox is checked. To find all drivers, find for Driver. Find for 1 would return OSDID 1, 11, 12, 21, 31, and any CustomerNo, ItemNo or SlotNo that contained the number 1. To limit the records returned, Find for |1|, which would find only fields that were exactly 1. You can stack Finds together using the * wildcard that matches any number of characters or the ? that matches any single character. To Find all Shortages in April 2014, Find for |4/??/2014|*|S|. The order of fields is important, but case is not. The record counter in the lower left of the form shows how many records you have found. Click the Find box to clear it and find all records again. The F on Find is underlined to show it is a hotkey, so Alt-F from the keyboard works the same as clicking the Find box. You can sort on any column that is blue, such as OSDID, OSDDate, Route, Driver1, Driver2, CustomerNo, ItemNo, Code, ItemDescription, SlotNo, Picker, Region, WH or SEL. Click the link a second time to change to a descending sort. Hover over the label for a second to see the yellow tool tip showing exactly what fields are sorted. SelAll in the lower left corner of the form sets the Sel checkbox in all records in the found recordset to true. Clear x SelRecs sets them to false.
These features are additive so you could find for Shortages, SelAll, Find for Damaged, SelAll and Find for Refused, SelAll. Similarly, you could find |Smith|, Clear x Sel Recs, find |Jones|, Clear x Sel Recs and exclude all whose last name was either Smith or Jones. By entering keywords in the Comment field, you can quickly select marketing groups for your business. You can use the complex selections to create reports, export data, delete or edit records. As you tab through the fields, the status bar text above the Start button changes to show what is expected in that field. Fields like Region and WH may be grayed out if you don't have the right to change them. To enter dates in the current year, type month/day, like 7/27 for July 27. You can enter the year like 5/2/1980 for May 2, 1980. Click the calendar to the right of the date field to choose the date from a calendar. The numeric + adds a day and the numeric - subtracts a day from the date shown. DoubleClick to set the date to today or clear the date that is entered. The blue label for Region, WH, Department, JobTitle combo opens the Combo form so you can add or edit new values. When you pull down the combo box, the changes to the Combo table appear. By typing in the field, you can move to the first value in the combo that begins with the string you typed. Click the blue Rpt link to open the Report form, then select the OSD report to view the data. Check the Sel checkbox to show only Sel recs instead of using a date range criteria.